
IADS 4 Tutorial

Overview
This tutorial provides a walkthrough of the key features and user interface controls available in the Interactive Authoring and Display Software (IADS).
IADS is a U.S. Army funded project originally developed to eliminate the need for paper technical manuals in the field through creating and distributing technical manuals in electronic format.
The team behind IADS has been developing IETM software since 1989. What originated as a “paperless” initiative has become a full-featured application with navigation history, search capabilities, interactive schematics, and authoring tools.
IADS is a Microsoft Windows compatible application which uses XML as the internal file format for textual data.
Supported graphic formats: CGM, SVG, JPG, BMP, G4, TIFF, GIF, PNG, and PIC 4.0.
Supported video formats: AVI, WMV, and MPG.
Getting Started
Launch IADS and Open a Dataset
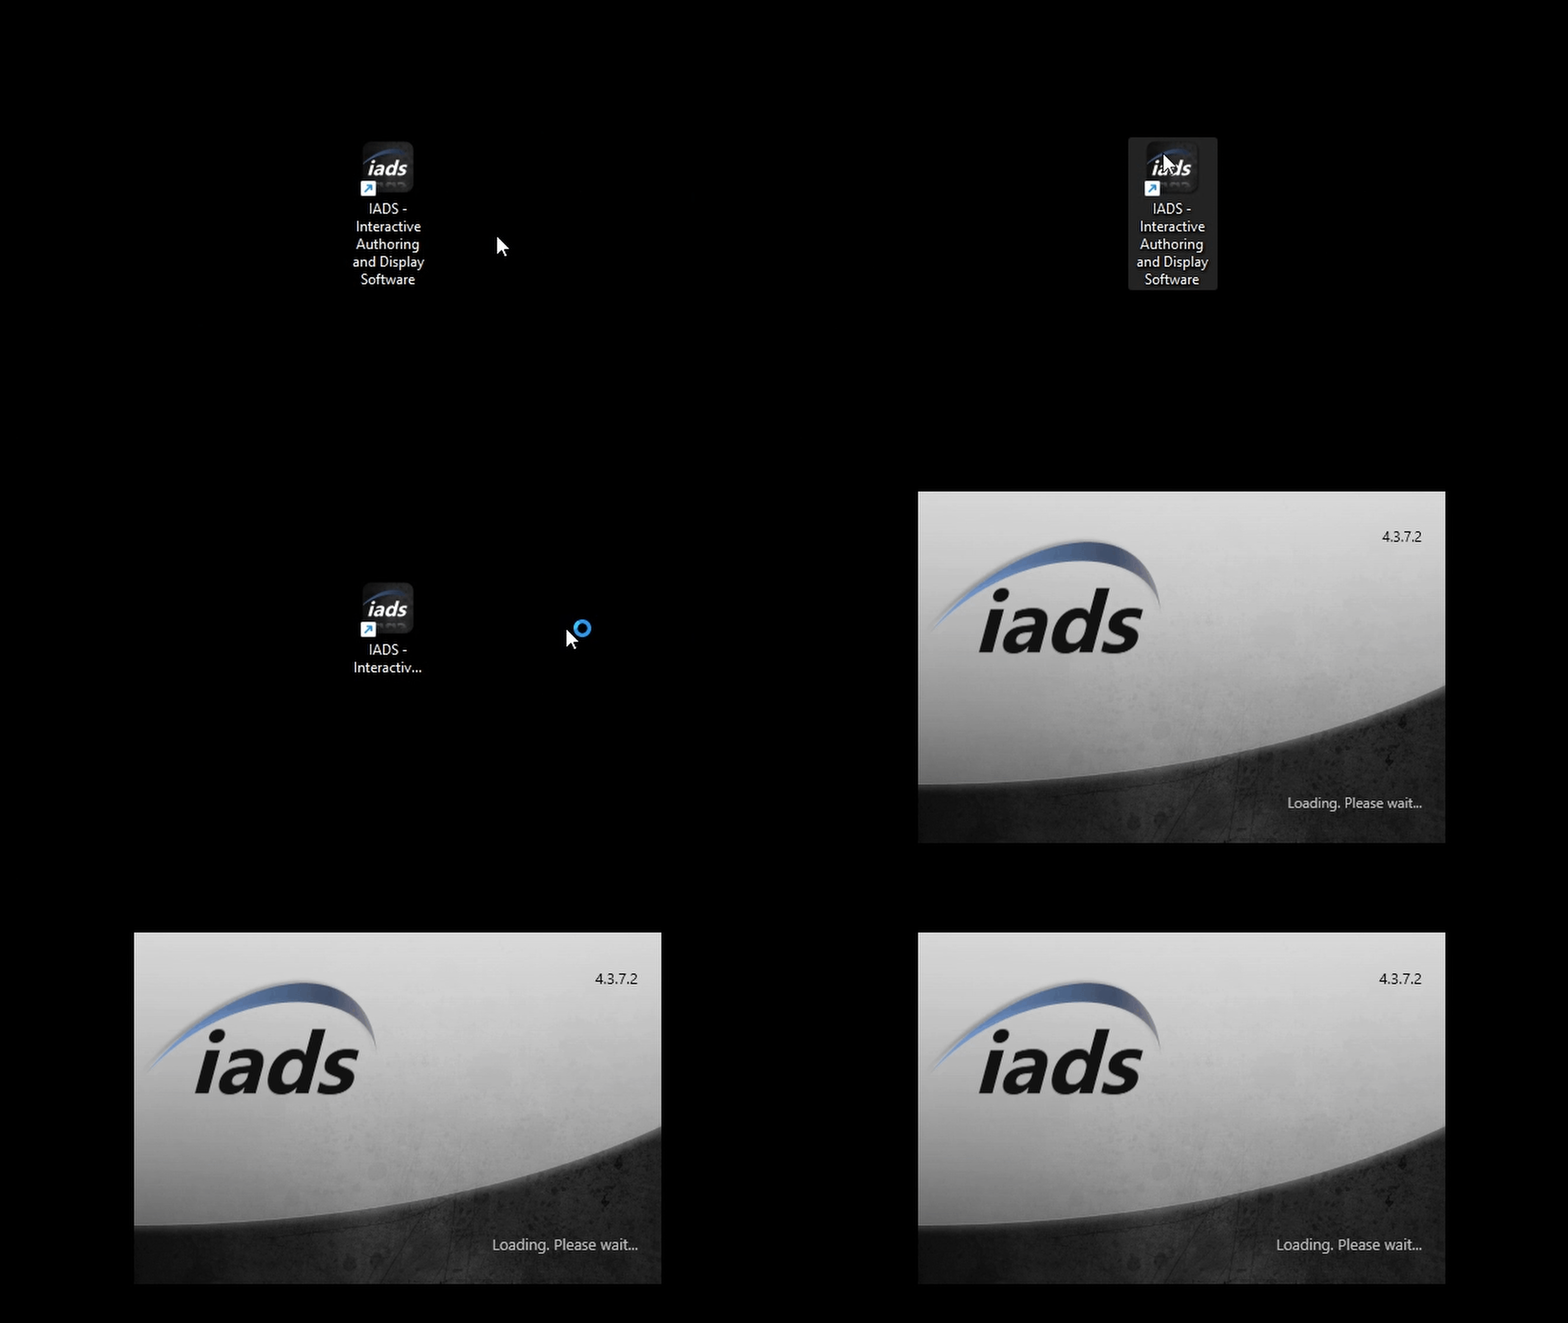
You will see the IADS Splash Screen appear. Wait for a brief moment while the application loads.
You should now be presented with the "Get Started" screen. Click on "Open a dataset.
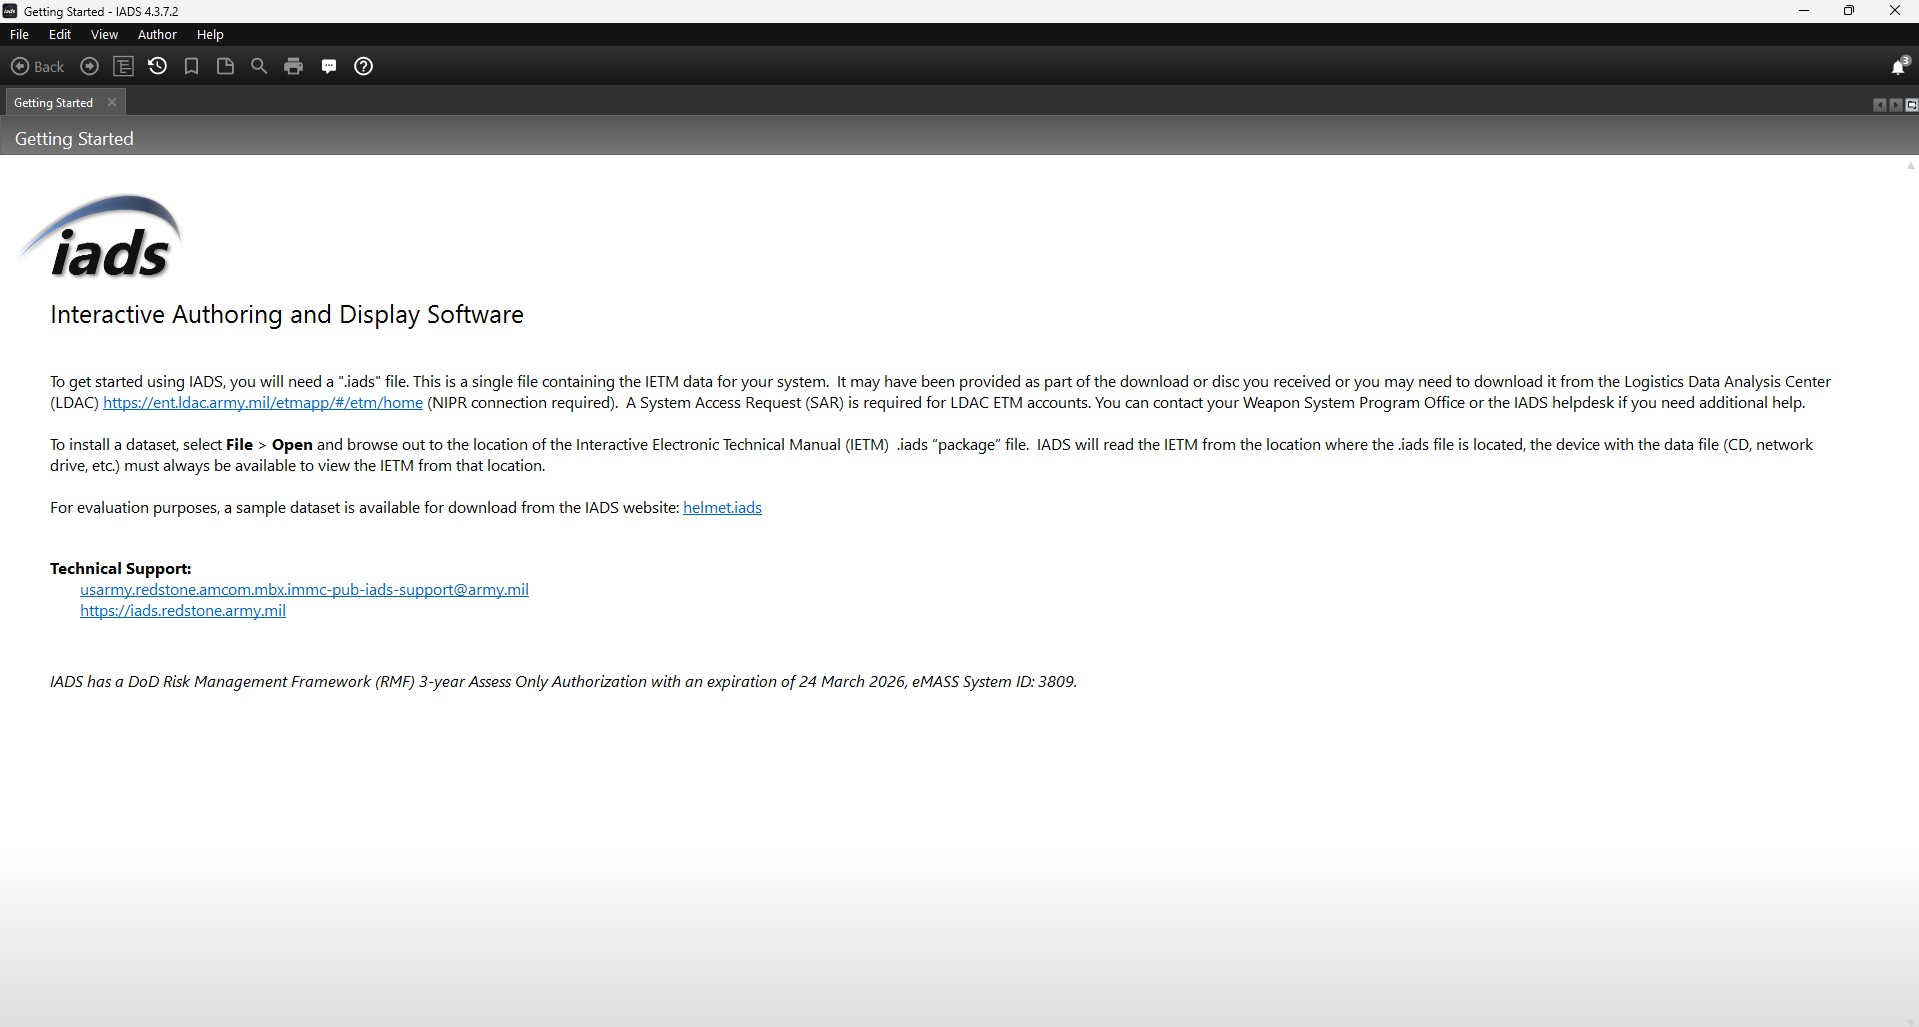
To install a dataset, select File > Open and browse out to the location of the desired package (.iads) file.
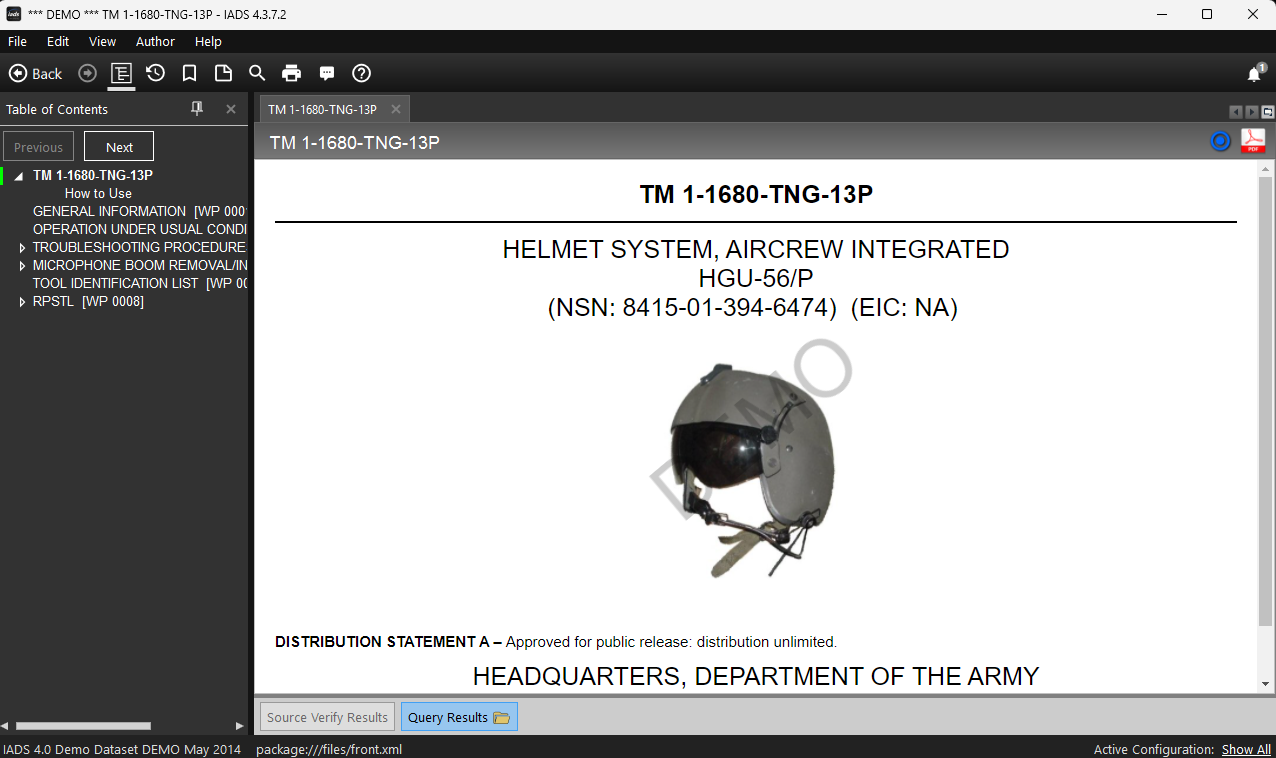
For this tutorial, we will use the helmet.iads dataset as an example.
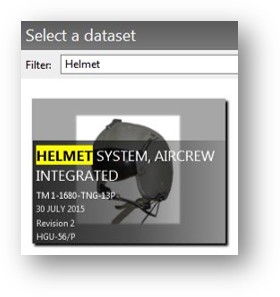
The dataset selection window will display a list of available manuals.
Use the "Filter" box to search for a specific manual (e.g., "Helmet").
(Filtering prevents you from having to manually search through a long list of files).
View styles:
Tile 
List 
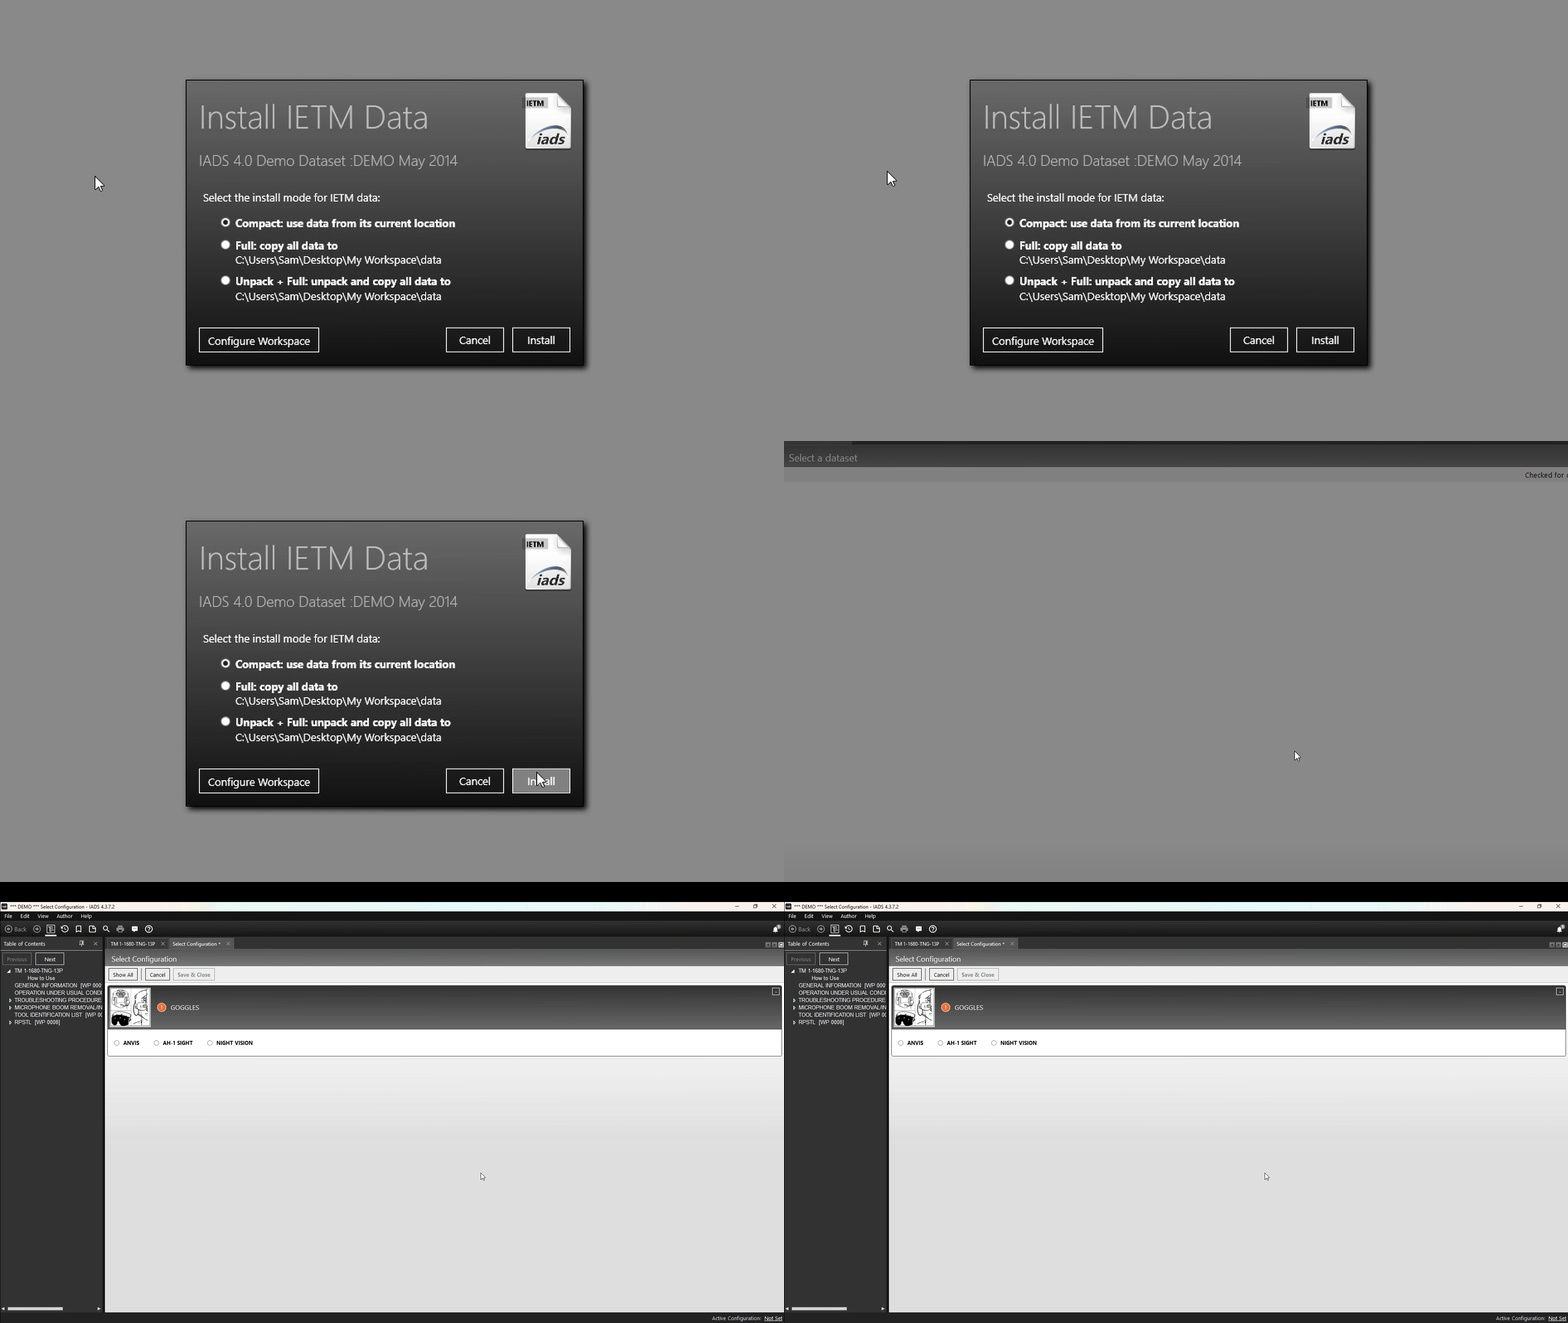
IADS will display a prompt regarding how to install the data.
A full install (default) will copy the data to the user's computer.
A compact install will not copy the data, so the device (CD/network drive/etc...) must be available to view the IETM.
Let's select the default "Compact" Install option for this tutorial.
Screen Layout
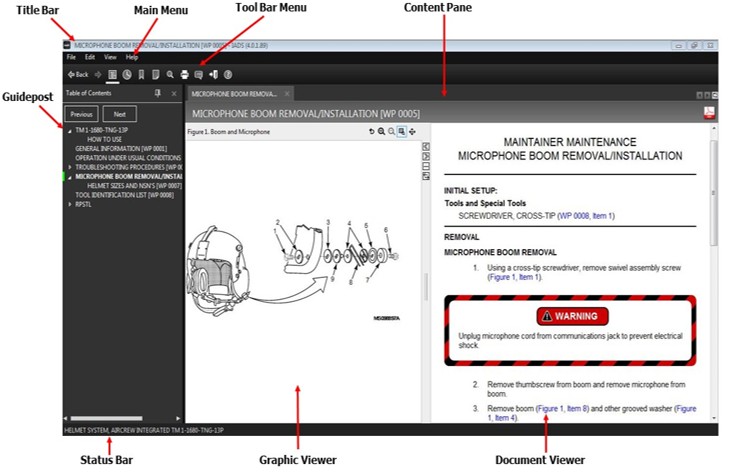
The IADS interface is divided into easy-to-use panels that enable swift task execution:
- Title Bar: Shows the active technical manual name, active configuration filters, and software version.
- Main Menu & Toolbar: Provides immediate access to indexing, configuration, and layout adjustment utilities.
- Guidepost Panel: Hosts the collapsible Table of Contents tree, session history logs, bookmarks, and user comments.
- Graphic and Document Viewers: Displays interactive schematics next to textual steps, enabling split-screen operations.
- Status Bar: Prominently displays active configurations and current files.
Main Menu & Selection Options
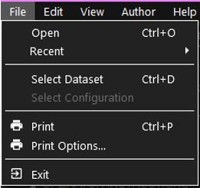
- Open: allows the user to browse and open a file.
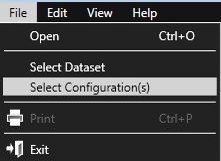
- Select Dataset: a dialog box will open with a menu of available Datasets. This only applies when there is more than one IETM installed.
- Select Configuration: a new menu will open with a list of available Configurations.
- Exit
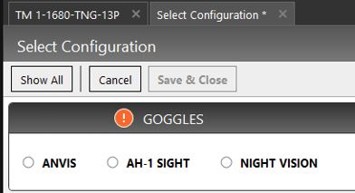
Selecting a Configuration: Let's select Show All.
To choose or change a configuration, select File > Select Configuration(s).
 The active configurations are displayed in the right corner of the status bar.
Once a configuration has been selected, the configurations menu may also be activated by clicking the underlined configuration value displayed in the status bar.
The active configurations are displayed in the right corner of the status bar.
Once a configuration has been selected, the configurations menu may also be activated by clicking the underlined configuration value displayed in the status bar.
Selecting Show All from the Select Configurations Menu will display all configurations.
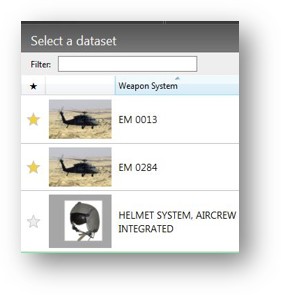
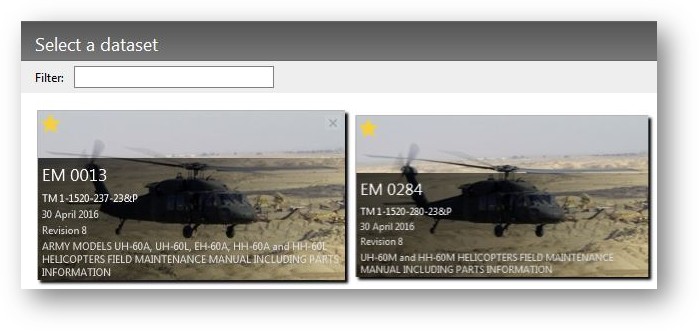
Dataset - Filtering and Favorites:
Filter or search your dataset list by typing in the filter text box. The filter text box only displays when the datasets on the screen cause scrolling to see further datasets.
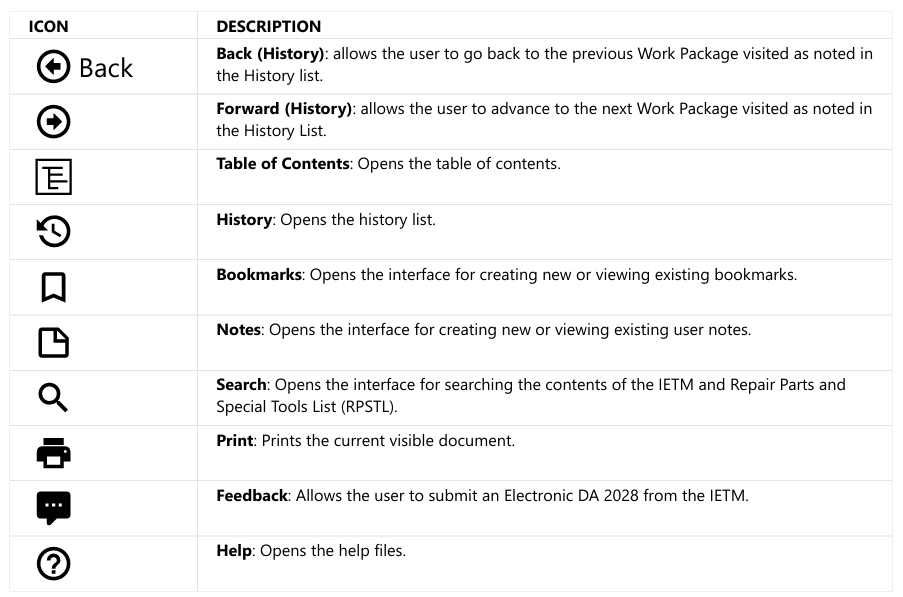
Toolbar Menu Icons
The top toolbar provides immediate shortcuts to core functions. Refer to the table below:
| Icon | Name | Operational Description |
|---|---|---|
| Back | Back (History) | Backtracks to the previous work package visited in your active session. |
| Forward | Forward (History) | Advances to the next work package in your active history list. |
| TOC | Table of Contents | Opens/focuses the Table of Contents in the Guidepost panel. |
| History | History Log | Opens the step history list showing visited pages with timestamps. |
| Bookmark | Bookmarks | Opens the panel to set private or public page bookmarks. |
| Note | User Notes | Allows creation/review of custom steps comments and safety messages. |
| Search | Search Utility | Enables global indexing (text, numbers, Cage Codes, NSNs, and graphics). |
| Print Function | Converts and prints the visible work package directly to a PDF. | |
| Feedback | Feedback (DA 2028) | Launches the digital AMCOM DA Form 2028 feedback reporting interface. |
| Help | Show Help | Launches the local IADS Help files (F1). |
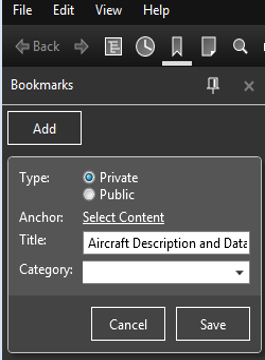
Bookmarks and User Notes
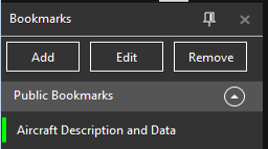
Bookmarks: Bookmarks allow you to quickly tag critical locations. In the Bookmark Guidepost, click Add and select:
- Private: Only visible to you on your local profile.
- Public: Saved to the shared workspace so other users can see the bookmarks.
User Notes & Safety Messages: Notes let you append feedback or diagnostics directly adjacent to a step.

To create a CSM, open the Notes Guidepost, select "Critical Safety Message", and anchor it. You are required to input a valid MSG DTG (Message Date/Time/Group) and MSG No (Message Number). Once saved, safety notices display in bright RED on the right side of the step.
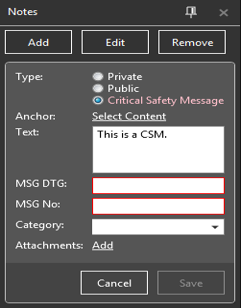
Table of Contents & Navigation
The Table of Contents (TOC) displays in the Guidepost. Clicking on the arrow symbol (►) expands the list, and clicking (▼) contracts it. Click any topic to navigate to that work package.
Using Tabbed Viewing:
Tabbed viewing allows you to cross-reference multiple sections simultaneously.
In the TOC, right-click a topic title and select Open in new tab.
To “tear-off” tabs for a split-screen view, click and drag a tab to your desired position.
Interacting with Hotspots and Split-Screen
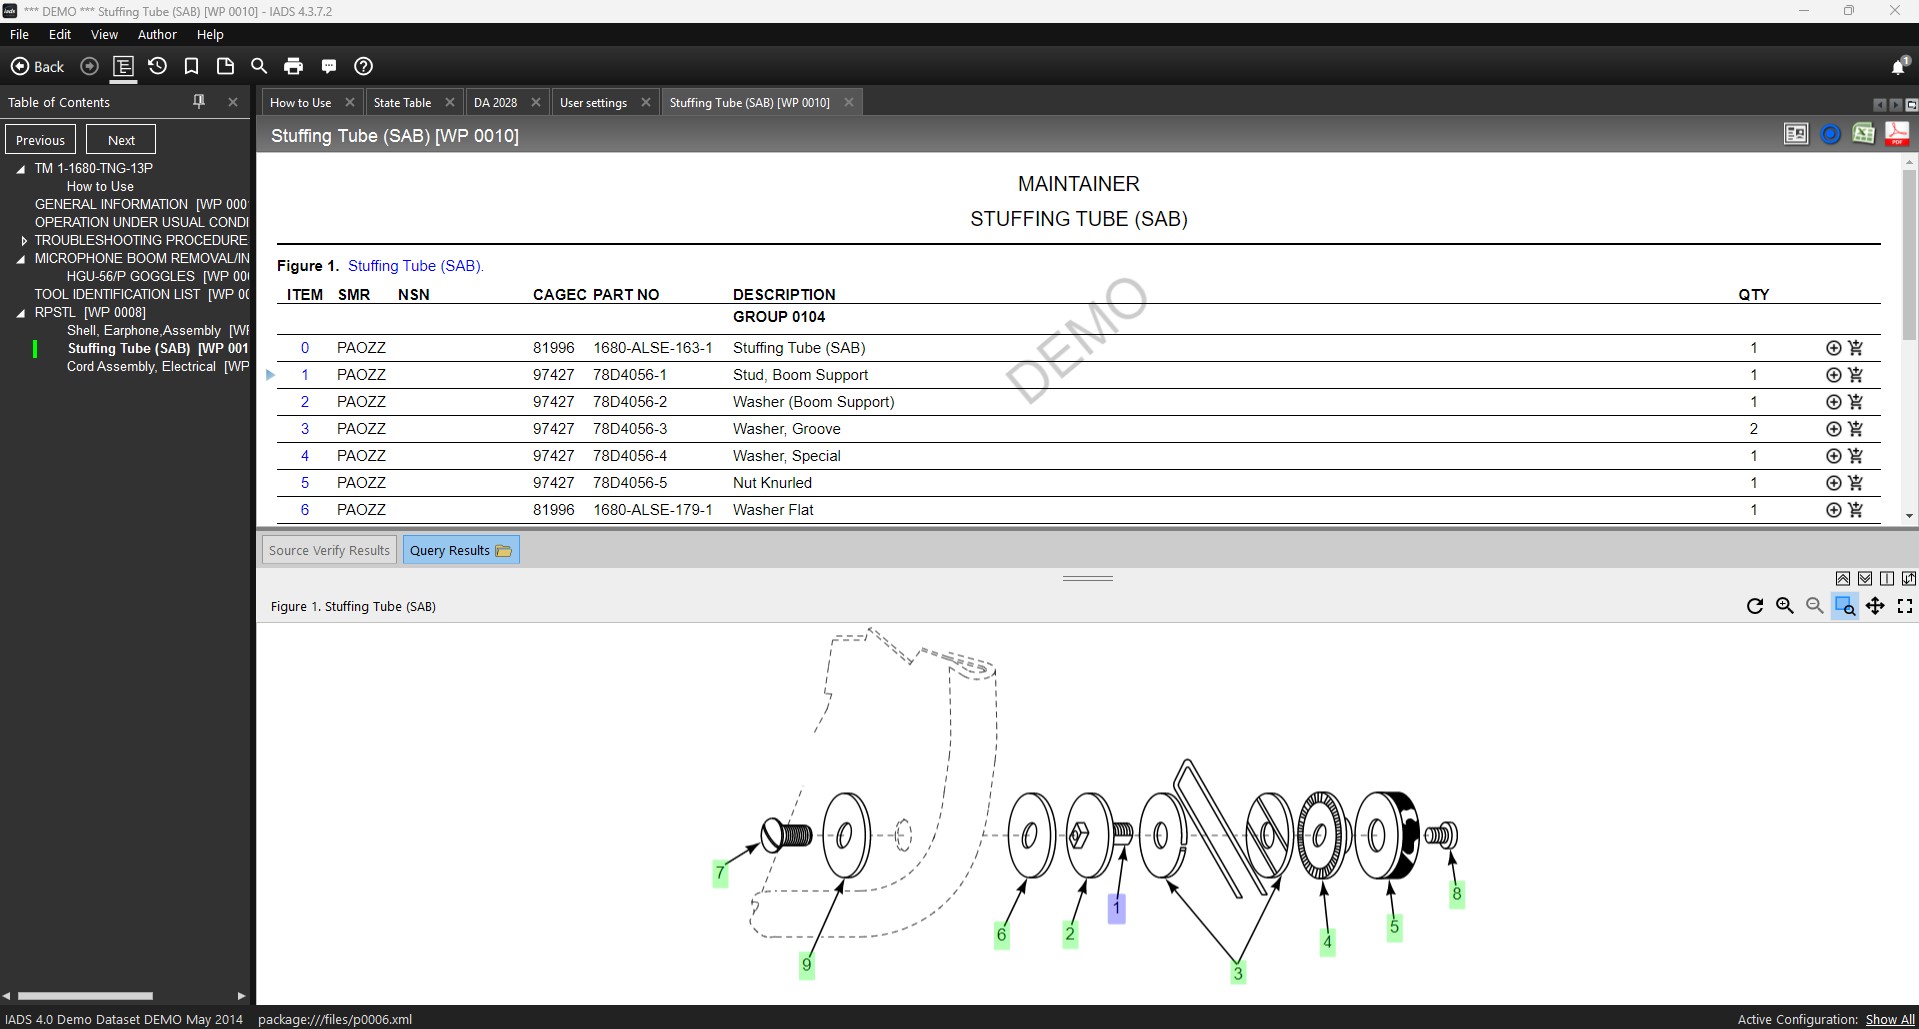
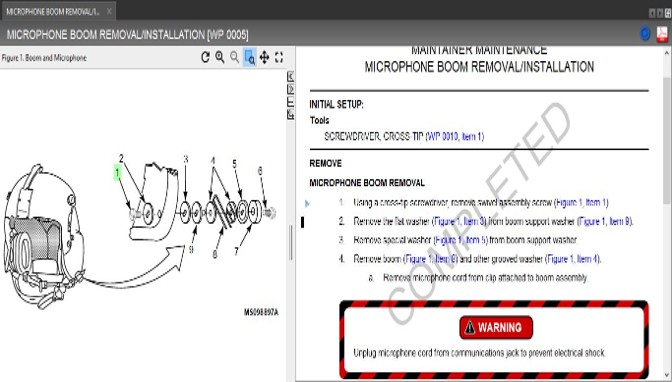
Text or figure numbers in the document are interactive hyperlinks (blue, underlined text). Clicking a figure hotspot (e.g., Figure 1) activates the Graphic Viewer alongside the Document Viewer.
Graphic Options: Use the split graphic toolbar to collapse panels, toggle vertical/horizontal views, swap display frames, or pan/zoom. Double-click any graphic to pop it out into a full-screen window.
Navigating the RPSTL (Repair Parts and Special Tools List) Work Package

The RPSTL connects visual exploded diagrams directly to tabular part number lists.
- Callout to Row: Click a numbered callout on the graphic to automatically highlight its matching row in the parts table below.
- Row to Callout: Click a row in the table to center and highlight the matching callout on the diagram above.
Digital Feedback & Integrated PMCS
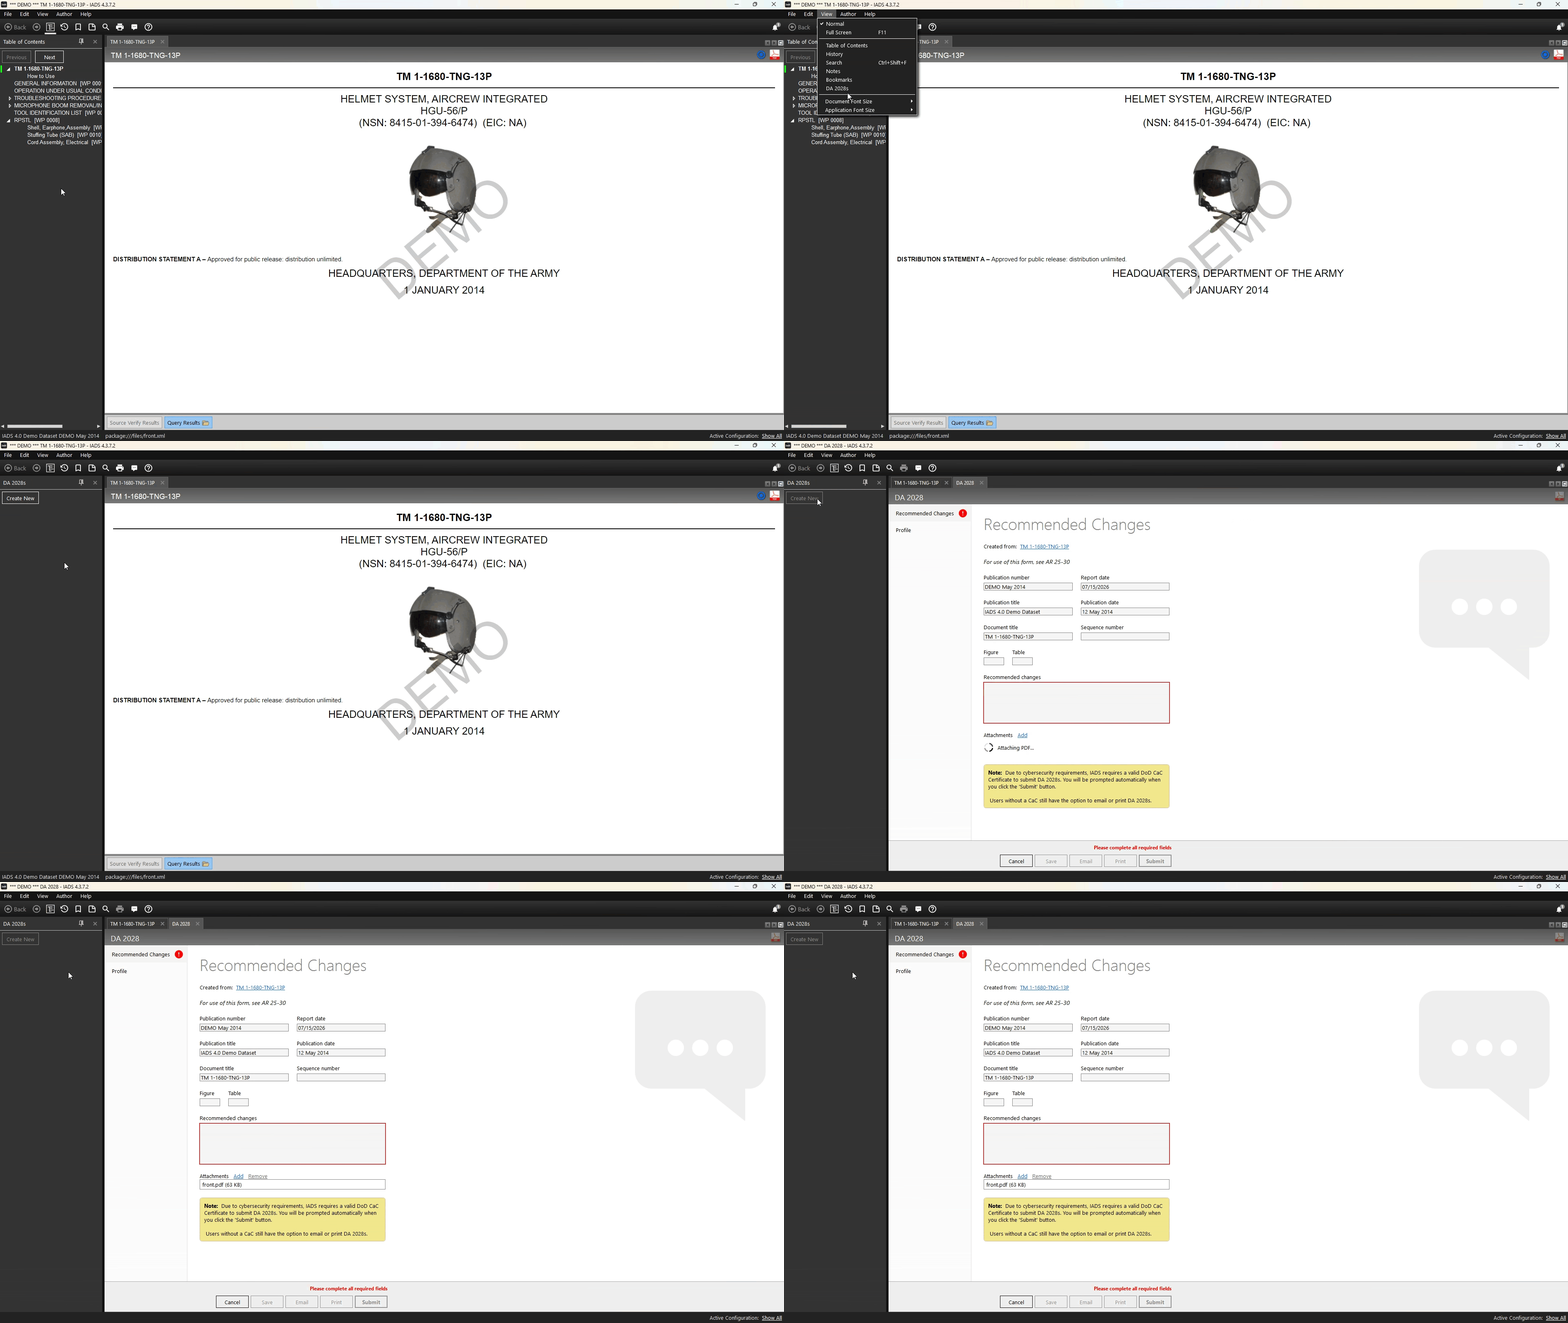
Electronic DA-2028: Used for reporting errors or proposing edits. Click the feedback icon to auto-populate manual details and submit directly to AMCOM.
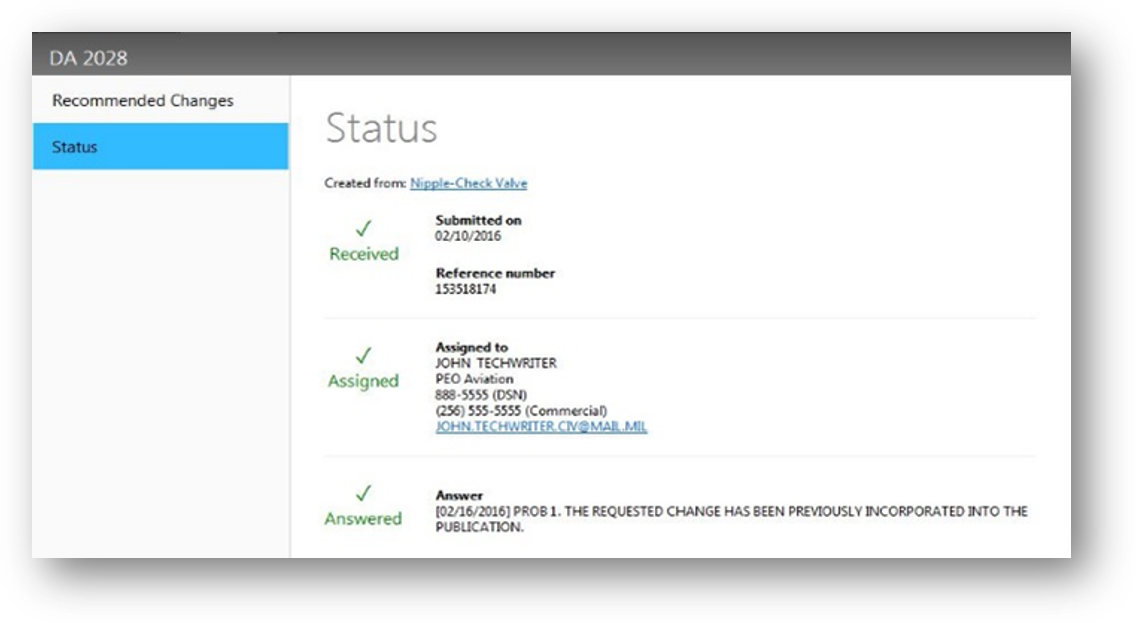
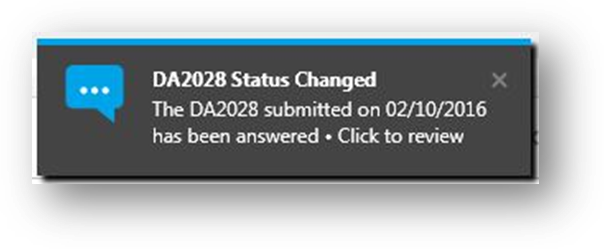
Track progress (Received ➔ Assigned ➔ Answered) in the Guidepost.
Author Quality Assurance & Update Packaging
Quality Assurance tools located in the Author Menu:
- Source Verify: Evaluates XML document structure and flags broken hyperlinks.
- Reload (F5) / Edit (Ctrl+E): Hot-reload documents directly from external XML editors.
- Build IETM Package: Compiles document nodes into compressed
.iadsfiles or differential update packages.
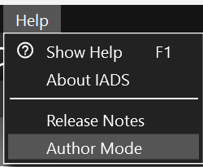
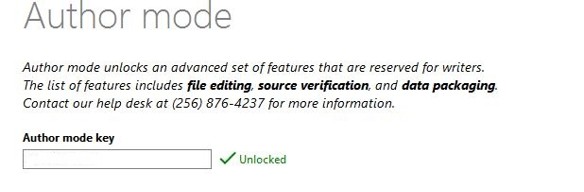
Author Mode
Activates Quality Tools for QA of XML Files
- Installation of the .iads package IETM data file: you will be prompted for the type of install.
-
- Compact Install: Runs from the current location of the .iads file (USER)
- Full Install: Copies data under the User profile (USER)
- Unpack + Full Install: Unpacks and copies the data to the User profile (AUTHOR this option is required to run the QA tools)
-

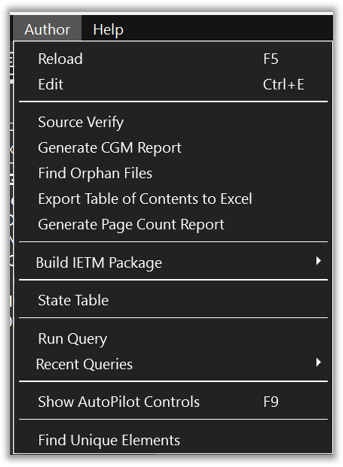
Author Menu
Reload F5: Reloads display screen after changes are made in the text editor program defined in the user settings menu
Edit Ctrl-E: Activates the text editor program defined in the user settings menu
Source Verify: Evaluates the document structure for proper XML formation, DTD parsing compliance and reports broken links
Generate CGM Report: Inspects all CGMs in the current dataset to determine if any contains elements that are not currently implemented
Find Orphan Files: Searches across the IETM directory structure to find any unused files.
Export Table of Contents to Excel: Export TOC captures the work package sequence number, title, file name, and file path for each work package listed in the Table of Contents
Generate Page Count Report: Scans all XML files and graphics to create an estimate of approximate page count equivalent for the IET
Build IETM Package: Allows the Author to compile all dataset files into an IADS package.
State Table: displays the name and current value of any external or user-defined settings that could affect the display of IADS content (such as troubleshooting choices, diagnostics results, etc.).
Run Query: Runs a custom xml query across the dataset in a fashion similar to source verify - allowing for the application and validation of external business rules.
Recent Queries: List of recently used query files.
Show AutoPilot Controls: Navigates through the IETM work packages allowing the user a "hands free" review.
Find Unique Elements - returns a report of unique xml elements and up to 5 instances of each within the dataset.
Source Verify
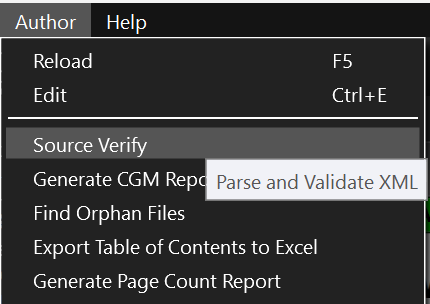
The XML Source Verify evaluates the document structure for proper XML formation, DTD parsing compliance and reports broken links.
NOTE: Source Verify checks for existing references but cannot replace human verification of correct linking.
-
Select Author then Source Verify.
-
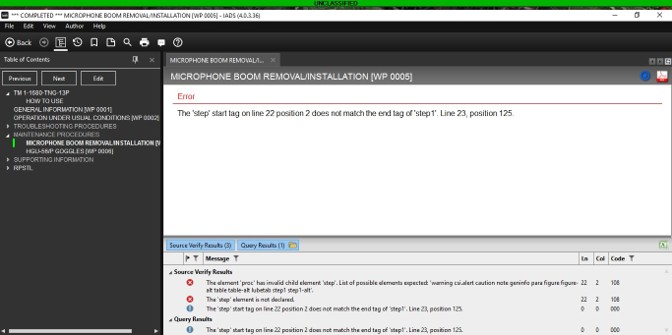
Source Verification error results will display in a new tab.

- Select Edit to launch your configured text editor and correct the file.
- Select the work package title to open and view the file.
- Unresolved links will display as [Unresolved Link Text].
-
A list of errors will also be shown at the bottom of the screen.

-
Continue correcting files and re-running Source Verify until the summary reports "Found 0 Errors in 0 Files".
In author mode, if an XML file has tagging or parsing errors, messages will appear in the display area.
IADS highlights the first tagging error in the main display area. Additional parsing errors may be listed at the bottom of the screen with line number, position, and error details.
To edit the XML file, from the main toolbar menu select Author > Edit or use the shortcut Ctrl-E to launch the configured editor.
After saving changes, IADS will display a blue bar stating "File change detected; document was automatically reloaded."

TOC Entry Errors:
TOC entries not found will display the defined file path in red.
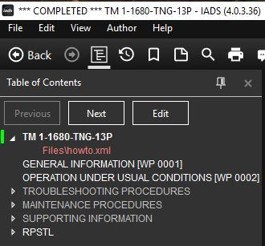
Files With Tagging Errors:
Files with tagging errors will display the path of the file and once selected, display the details of the error.Query
Run Query is an Xpath query file that locates and reports violations of MIL-STD-40051 compliance found throughout the IETM as either a "warning" that the author must look at and determine if a correction is necessary or an "error" according to a cited paragraph in MIL-STD-40051.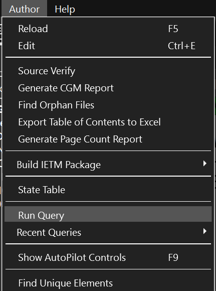
IADS will populate a list of all the MIL-STD compliance violations.
The results list can be exported to an Excel spreadsheet.
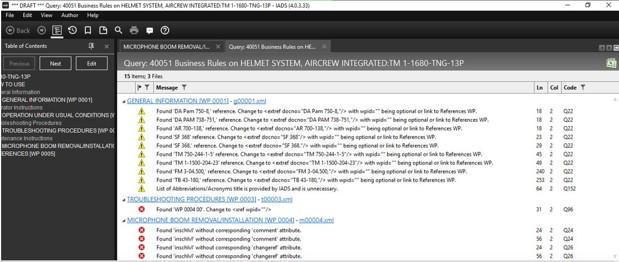
IADS will populate a list of all the MIL-STD compliance violations.
https://pubsweb.redstone.army.mil/DTD-FOSI/Webpages-60/download/Production_Business_Rules.pdf
The SABR Query website link:
https://pubsweb.redstone.army.mil/DTD-FOSI/Webpages-60/download/BUSINESS_RULE_IADS_4.zip
Author Mode User Setttings
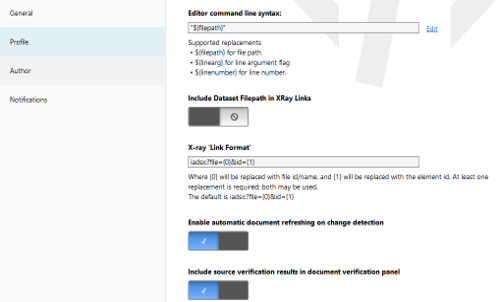
Generate CGM Report
Inspects the CGM files for elements that may not be supported by IADS. IADS converts the CGM to SVG as runtime and this check looks for elements/attributes that may not have an equivalent value in the SVG.Find Orphan Files
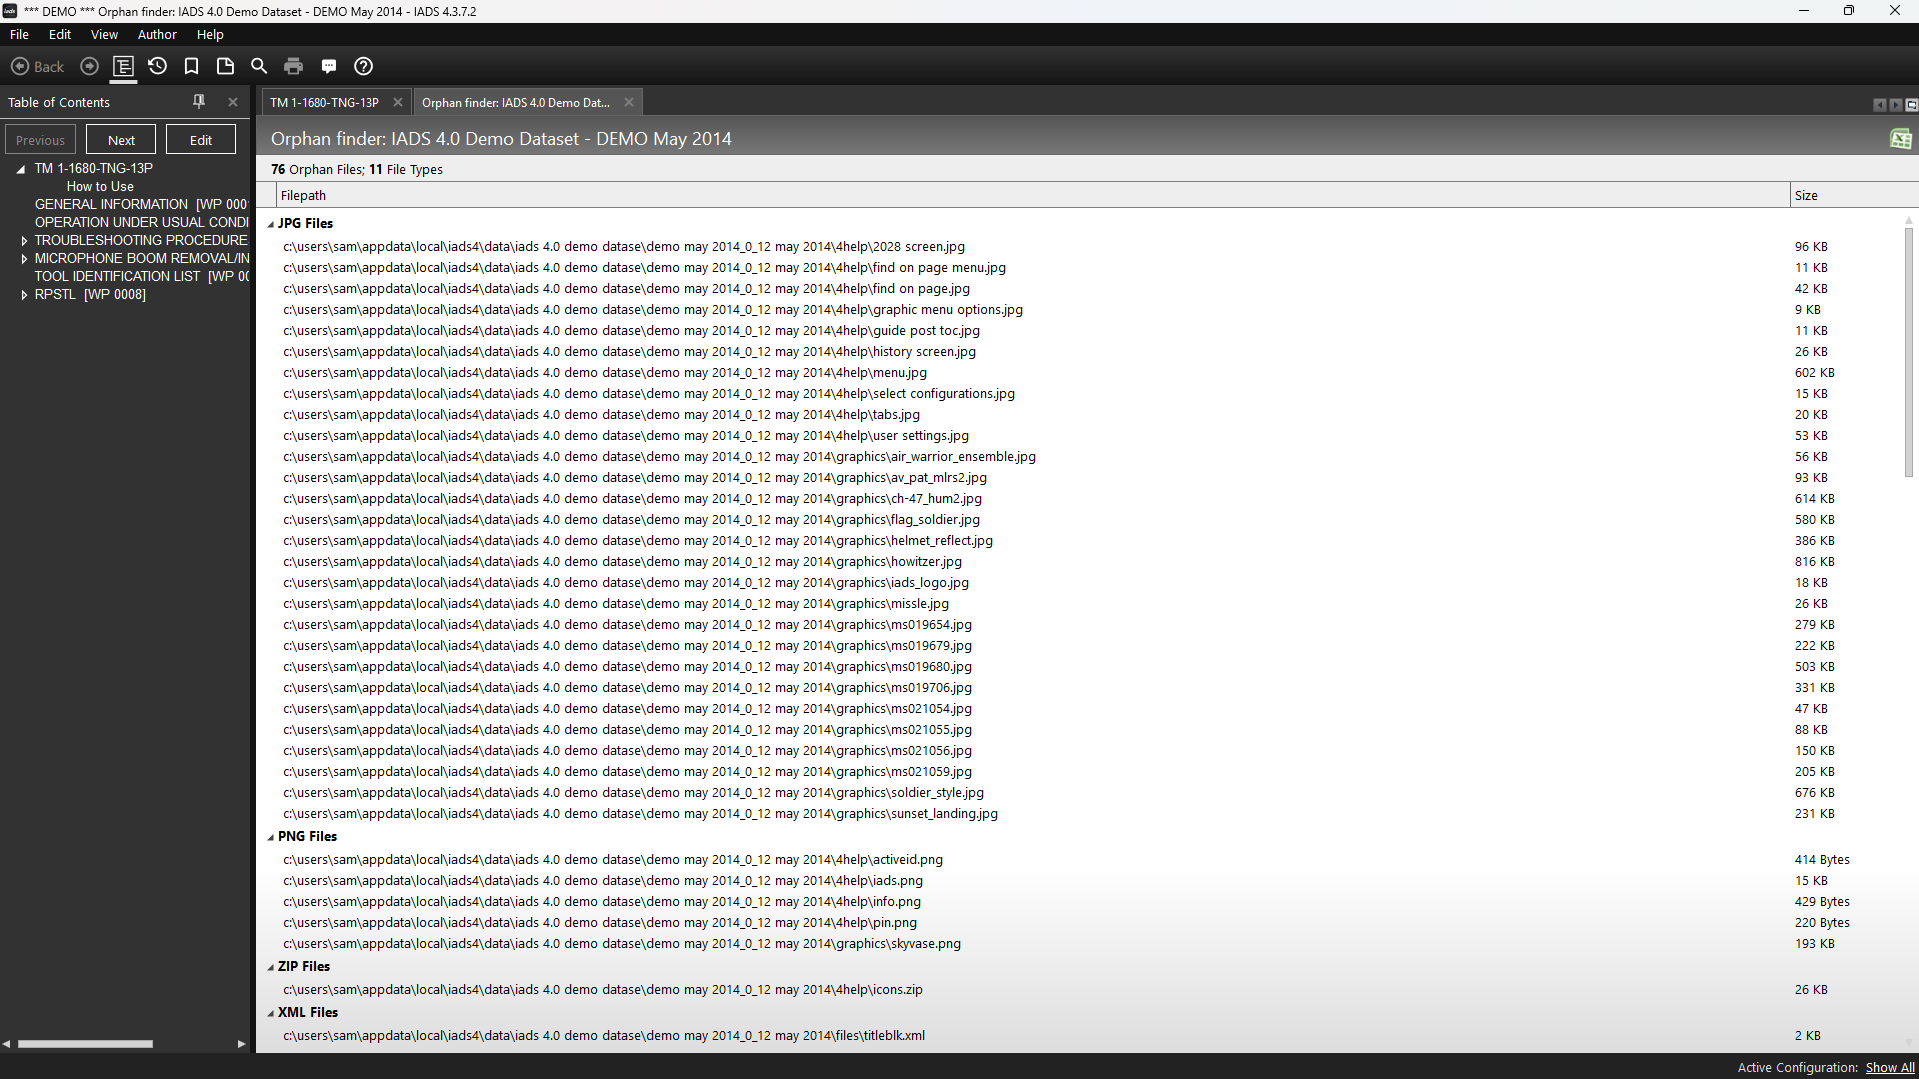
Find Orphan Files allows the author to search across the IETM directory structure to find any unused files.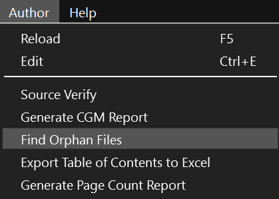 IADS will populate a list of all files not currently being used.
The orphan file list can be exported to an Excel spreadsheet.
Click the Excel icon in the top right corner of the Orphan File tab to export the results to a spreadsheet.
IADS will populate a list of all files not currently being used.
The orphan file list can be exported to an Excel spreadsheet.
Click the Excel icon in the top right corner of the Orphan File tab to export the results to a spreadsheet. NOTE: IADS will ignore any folders that contain the .dtd file and report 0 orphan files.
Please follow proper file organization and do not comingle files: “Files” “Graphics” “DTD” should be stored in corresponding folders. Storing the dtd files in a DTD folder allows IADS to ignore those supporting dtd and stylesheet files when scanning for orphaned files.
Export Table of Contents
Authors mode allows users export the IETM Table of Contents to Excel. Select "Export Table of Contents to Excel" from the Author menu. This export captures the work package sequence number, title, file name/file path, WPNO, WUC, Applicability, Change No, Insertwp, Deletewp, and Supplemental Links for each work package listed in the Table of Contents.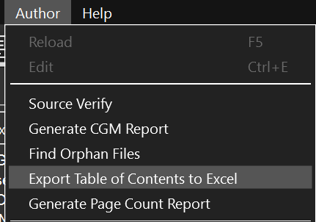
Generate Page Count Report
Scans all XML files and graphics to create an excel report with an estimated page count equivalent for all XML files, with a sum total for the IETM.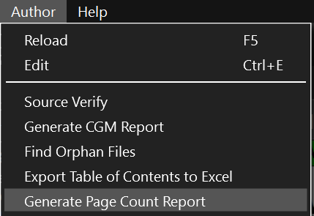
AutoPilot
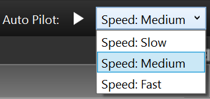
The AutoPilot (F9) feature is available for Author Mode users to aid in the QA and review of their IETM. Autopilot will scroll through the IETM work packages allowing the user a "hands free" review of the IETM content.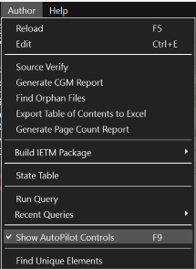
Find Unique Elements
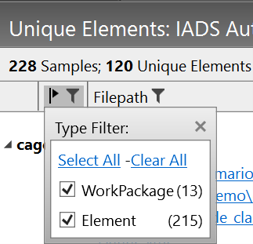
Find Unique Elements creates a report of all XML elements used in the IETM.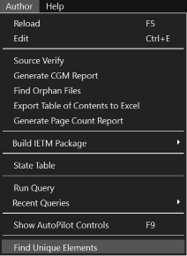 IADS will report up to 5 samples of each element.
 The results can be filtered by unique Work Package Elements or content elements:
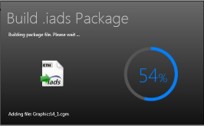
Build IADS Package
Upon completion of the IETM development, the complete IETM dataset can be "packaged" into a single file. There are three different ways to create IADS Packages:
- Standard - .iads file – Allows the user to compile all dataset files into an IADS package file
- Extended – embed all public notes – Builds a full .iads package file including all public notes
- Update – only includes changes – Only includes new files or files that have changed and/or been deleted since the last authentication IETM
-
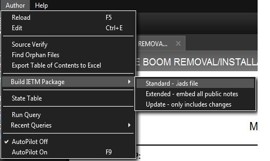
Select Author > Build IETM Package > Standard - .iads file from the main toolbar menu.
-
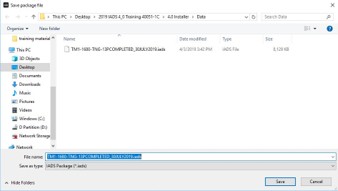
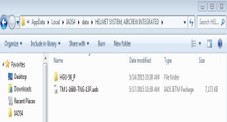
Select location and file name to save the IETM .iads package file.
-
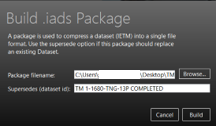
If an authenticated IADS IETM exists enter the
<id>element value from the dataset.xml file in the Supersedes (Dataset ID) field. Select "build" to begin building the IETM package.
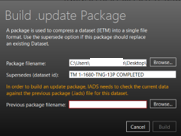
- Select location and file name to save the IETM ".update" package file.
-
To build an update file, IADS needs to check the current data against the previous (.iads) package file for this dataset. IADS compares the entire contents of a dataset to a pre-existing copy of the dataset (the last .iads file released); all file types are checked, and new or changed files are included in the update package; removed files will be marked for deletion.
-
IADS will verify the following elements are correct when the author builds the update package:
- if the Weapsys element and weapons system name text is missing or does not match the comparison iads file
- if the ID element and TM# value is missing or does not match the comparison iads file
- if the Revision element and value are missing or are the same as the comparison iads file
- if the PubDate element and value are missing or have the same value as the comparison iads file (this is a safety measure when systems are revising back to "0")
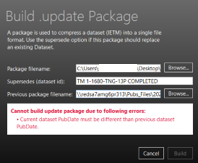
- The ".iads" file and the ".update" file should be sent to EPCO and LDAC when an IETM revision/change is submitted for authentication.
Build a Bug Report Dataset
The purpose of Building a Bug Report Dataset is to capture the necessary files for reporting issues, or recommended changes to the IADS Customer Support Team.
Building a Bug Report Dataset, IADS will create a new dataset set that contains the XML file, associated graphics, entities, dataset, toc, log file, screen shot and pdf of the work package.
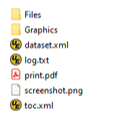
NOTE: If the bug is related to a linking issue, you will need to create a bug report for BOTH files and merge into a single bug report.
-
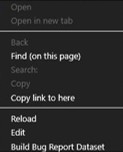
With the file that has the error open in IADS, hold the Shift key and then right-click; choose the option to build a bug report dataset.
- Windows Explorer will open to "Select the folder to save export to"; browse and select the folder location where you want the bug report export saved.
-
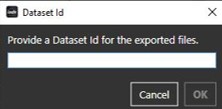
Enter the name of the folder IADS will create for the bug report export and save to the folder selected in the previous step.
- Zip the bug report folder and send it to usarmy.redstone.amcom.mbx.immc-pub-iads-support@army.mil